Welcome to WordPresUV Unwrapping for Procedural Models in Blender using Geometry Nodes: A Step-by-Step Guide
If you’re like me, and you like to model as much as possible inside Blender’s powerful geometry nodes, then you need to UV unwrap those shapes, procedurally. There are several methods available, this step-by-step tutorial covers UV unwrapping for models derived from splines, meshes, and complex shapes that one generates or simulates in Geometry nodes. The free tutorial is available on youtube, watch now and if my approach helps you, then please consider hitting the subscribe button.

What is UV Unwrapping and Why Does It Matter?
UV unwrapping is the process of flattening a 3D model’s surface into a 2D space, allowing textures to be applied accurately. It’s a crucial step in 3D modeling, it ensures that the materials, textures, and patterns are applied and scaled correctly on a 3D surface. Blender already has powerful inbuilt tools for UV unwrapping if you’re creating using Edit mode. Blender’s geometry nodes also offers the tools needed to build a UV Unwrap by connecting the right nodes. But if you’re working on a large scene with many procedurally generated meshes, you’ll have to build it for each object, that can be tedious.
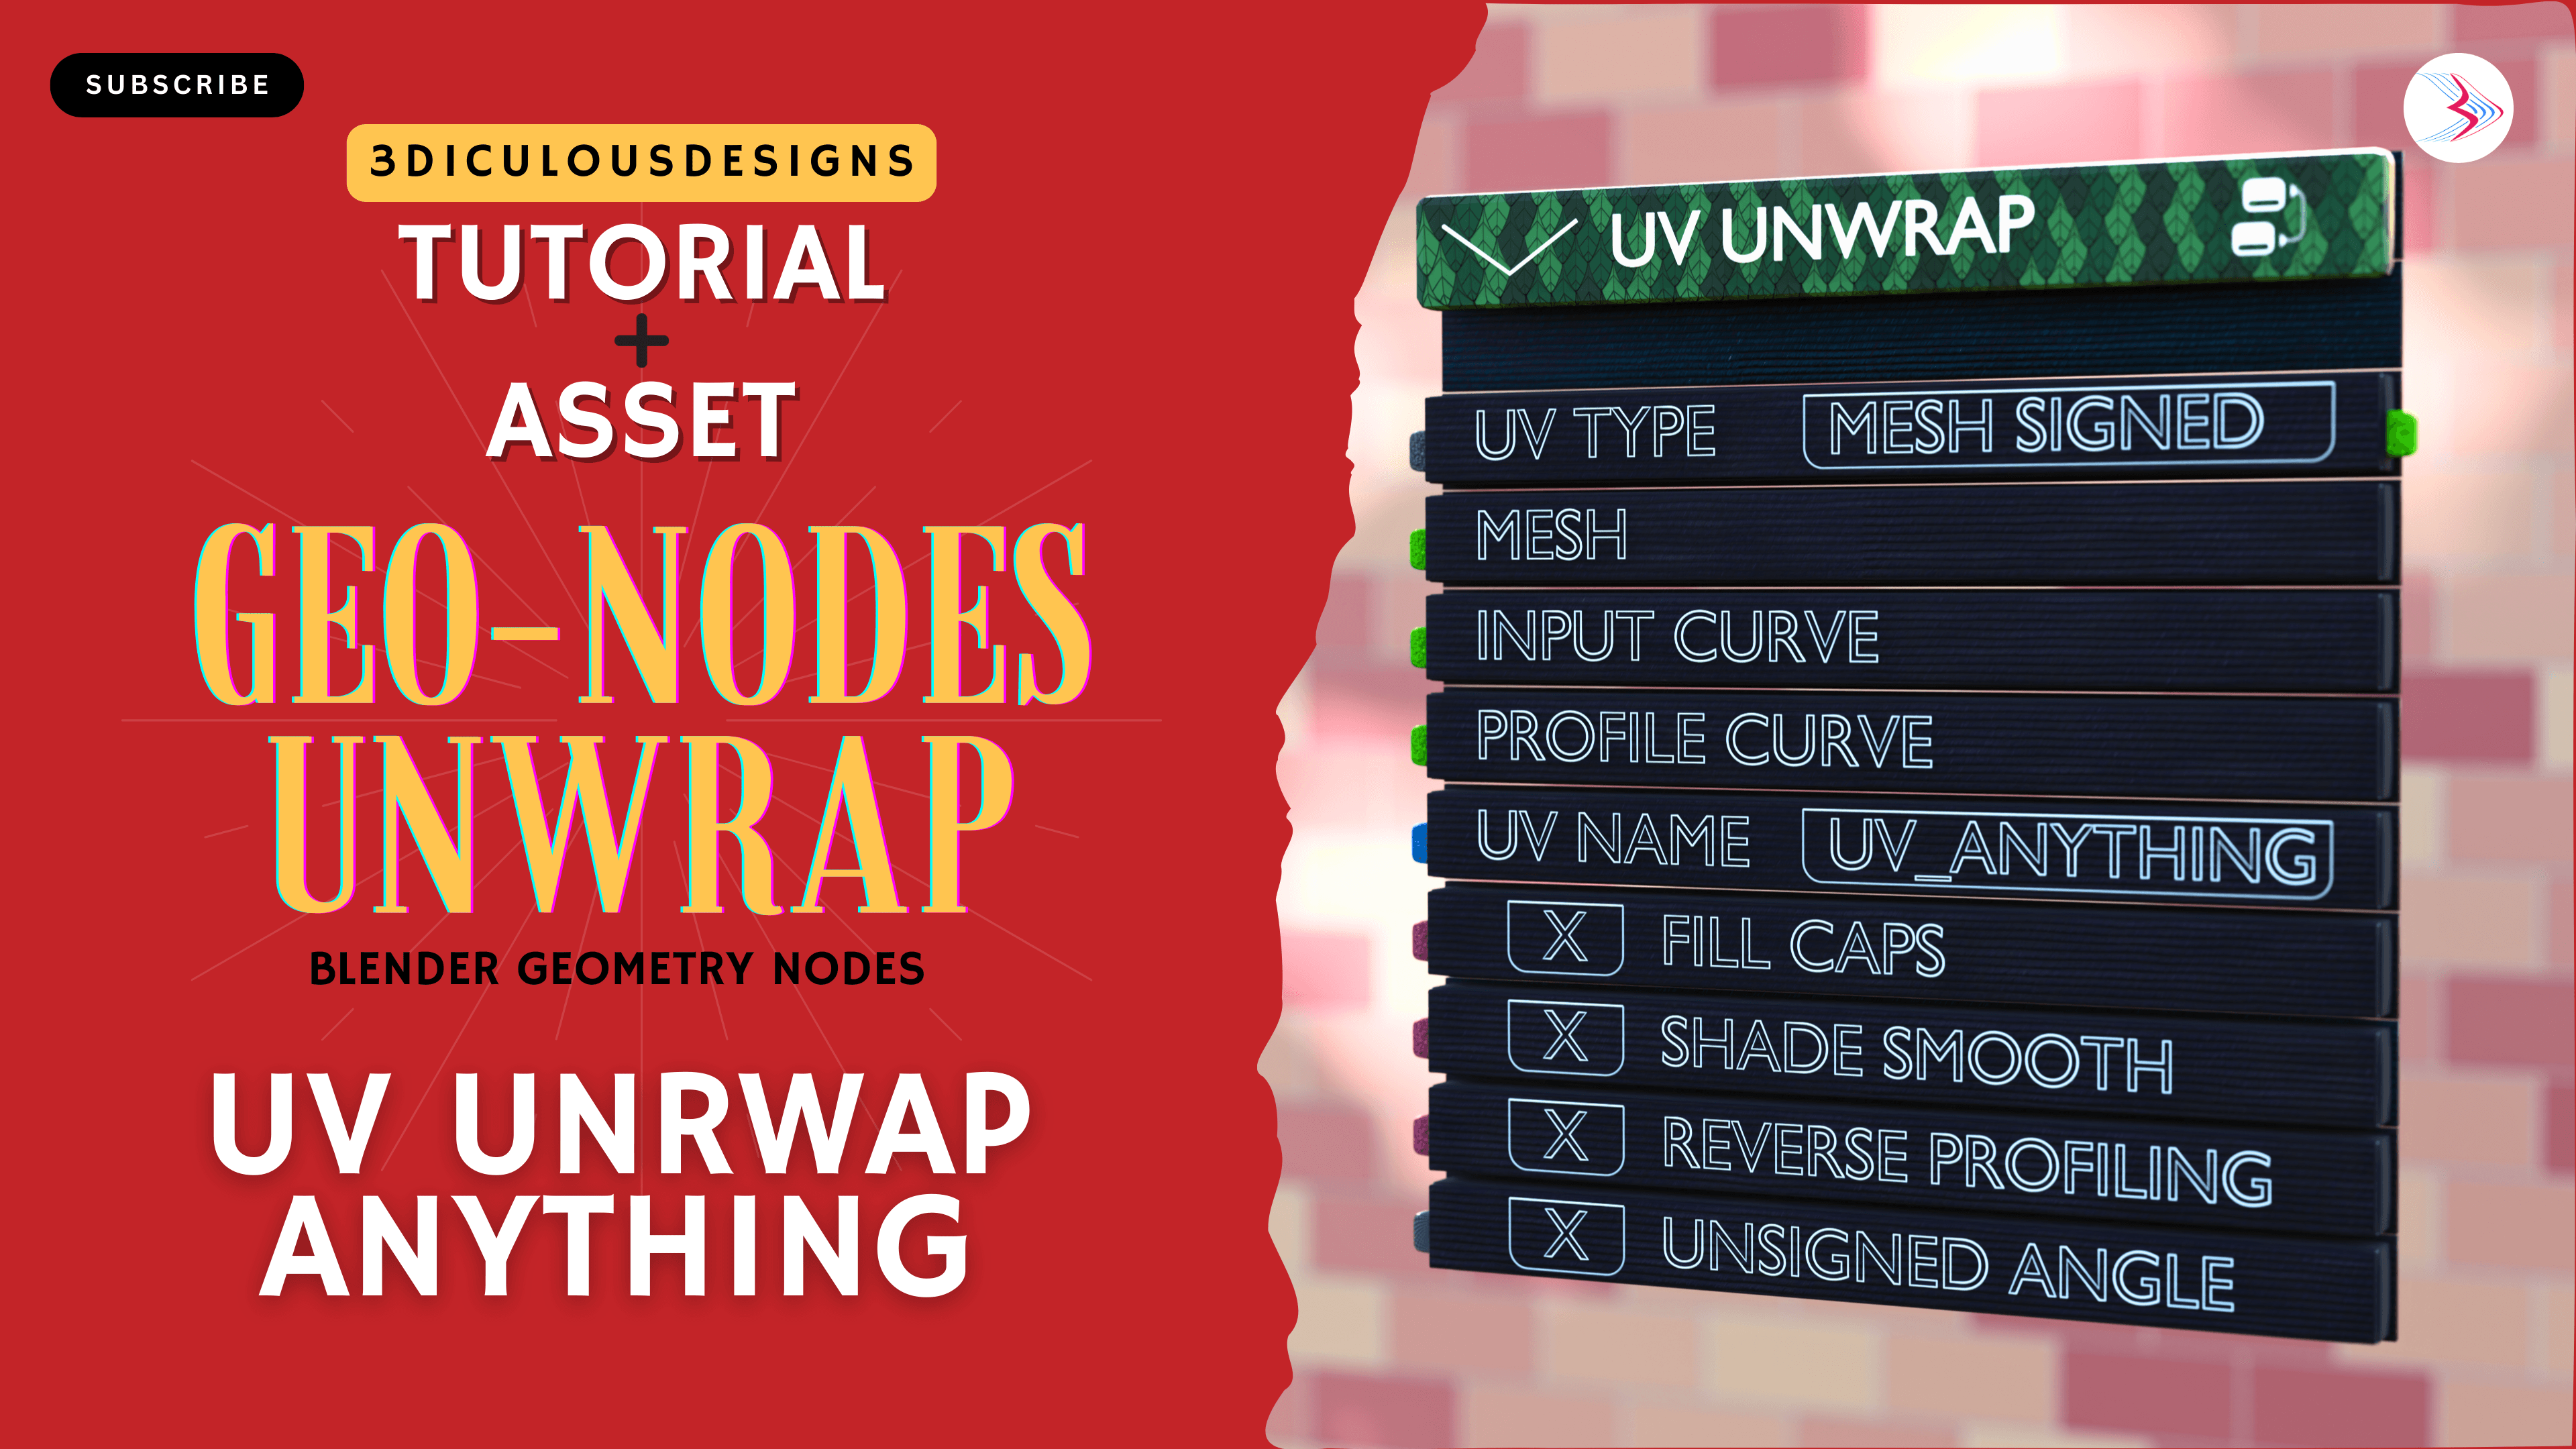
That’s where UV Unwrapper comes in! This powerful node group aids your procedural workflows inside geometry nodes. It’s a tool to making UV unwrapping faster, more efficient, and adaptable to any model. In this tutorial, we’ll show you how to master UV unwrapping using Geometry Nodes, so you can save time and create stunning textures with ease.
What You’ll Learn in This Blender UV Unwrapping Tutorial
In this tutorial, we dive deep into creating a procedural UV unwrap node using Geometry Nodes. Here’s a sneak peek of what you’ll discover:
- Creating a UV Unwrap Node from Scratch
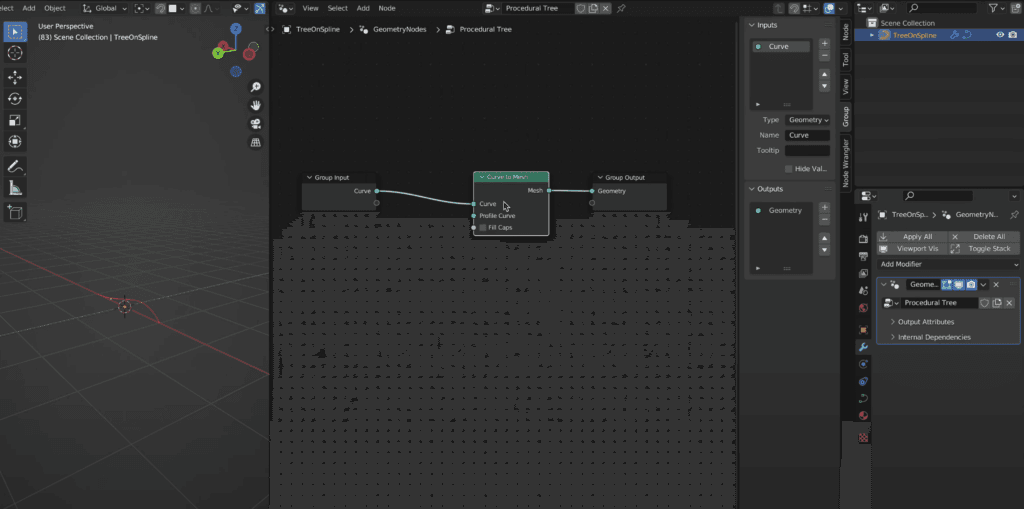
Learn how to build a custom UV unwrap node that can be applied to any geometry in Blender. This tool will save you time and effort, especially when working with complex models. - Working with Curves and Meshes
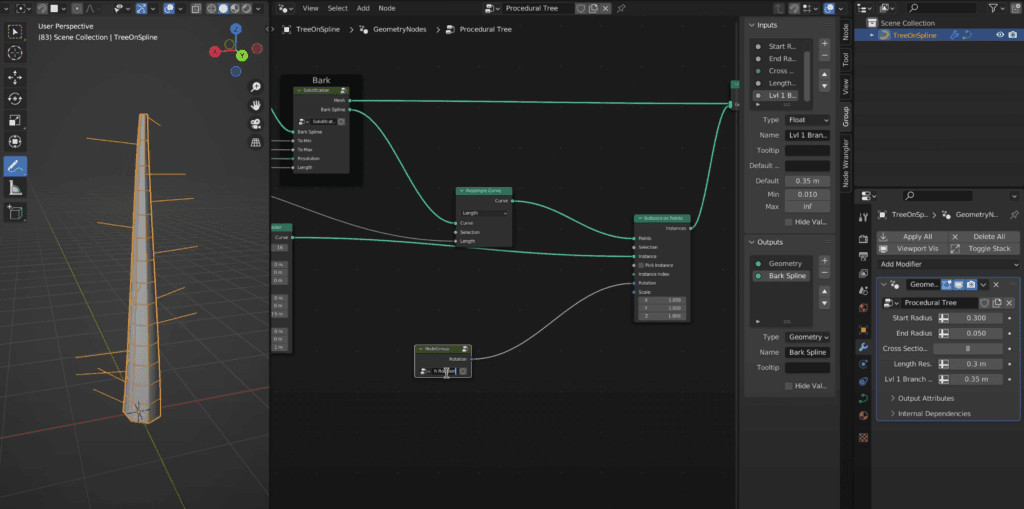
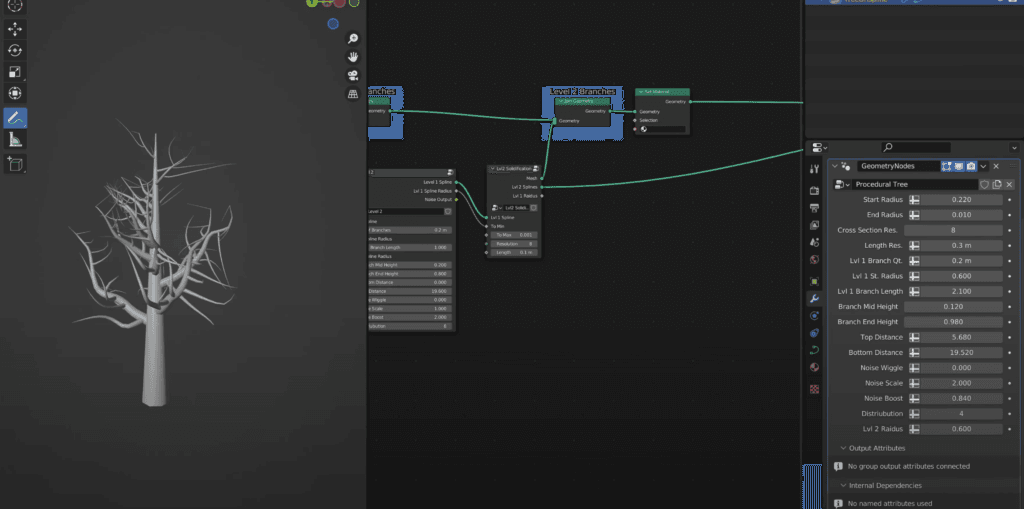
We’ll show you how to handle meshes generated from curve circles, and spirals, and how to convert them into meshes with proper UV mapping. You’ll also learn how to fix common issues like stretching and overlapping UVs. - Advanced Techniques for UV Mapping
Discover how to use Capture Attribute and Store Named Attribute nodes to store and manipulate UV data. We’ll also cover how to handle edge cases, such as filling caps and reversing profiles. - Creating Reusable Node Groups
One of the best parts of this tutorial is learning how to turn your UV unwrap setup into a reusable node group. This means you can apply the same workflow to any project with just a few clicks! - Real-World Applications
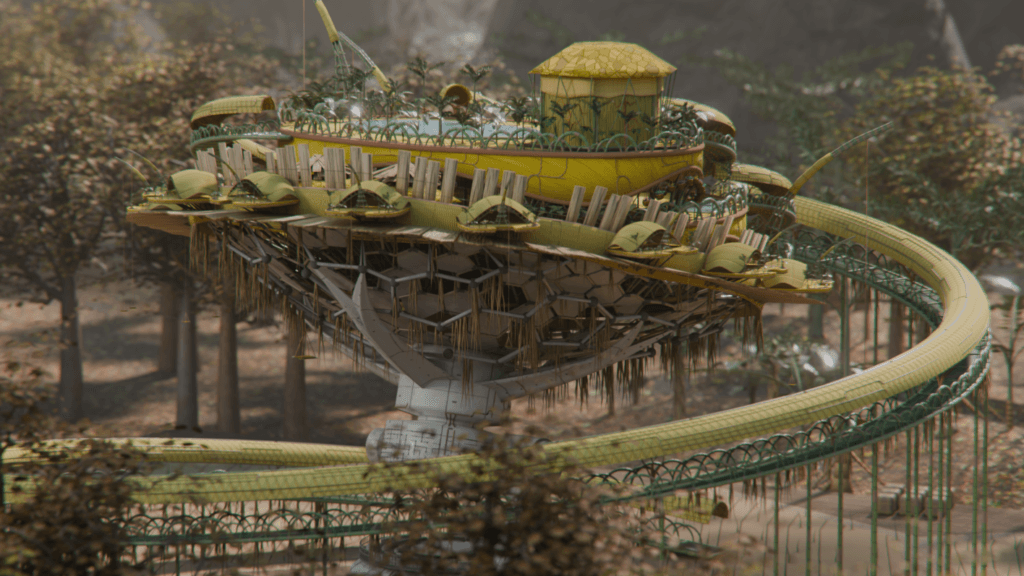
See how this technique can be used in real-world projects, such as creating leaves, flower baskets, and architectural elements like railings and roofs.
Why This Blender UV Unwrapping Tutorial is a Game-Changer
- Procedural Workflow: Say goodbye to manual UV unwrapping! With Geometry Nodes, you can create UV maps that adapt to any changes in your model.
- Reusable Tools: Once you’ve built your UV unwrap node group, you can use it across multiple projects, saving you hours of work.
- Versatility: Whether you’re working with curves, meshes, or complex shapes, this technique works for almost any geometry.
- Grouping: You can try to throw in objects with similar topology to go through a single UV Unwrap node, and with the right settings it’ll do the unwrapping nicely. But only if the signed/ unsigned angle is similar for the group objects coming in through a Join Geometry.
Watch the Full Blender UV Unwrapping Tutorial
Ready to dive in? Watch the full video tutorial to see these techniques in action and follow along step-by-step. By the end of the video, you’ll have a powerful UV unwrap tool that you can use in all your Blender projects.
👉 Click here to watch the full tutorial now!
Who Is This Blender UV Unwrapping Tutorial For?
- Beginners: If you’re new to Blender or Geometry Nodes, this tutorial will guide you through the basics and help you build a solid foundation.
- Intermediate Users: Take your skills to the next level by learning advanced UV unwrapping techniques.
- Professionals: Streamline your workflow with reusable node groups and procedural tools.
Join the Blender Community
The assets and tutorials I share are the ones that help me in my own creative and professional workflow. This image is why I built this node tree. This is a scene done fully inside a single geometry nodes tree, and as such needed individual unwrapping for every object. This is what UV Unwrapper was built to do.

If you found this tutorial helpful, don’t forget to subscribe to our channel for more Blender tips, tricks, and tutorials. We’ll be dropping another in-depth Geometry Nodes tutorial soon, so stay tuned!
Final Thoughts on UV Unwrapping in Blender
UV unwrapping doesn’t have to be a headache. With Blender’s Geometry Nodes, you can create procedural UV maps that are flexible, efficient, and easy to use. Whether you’re working on architectural visualizations, game assets, or organic models, this tutorial will give you the tools you need to succeed.s. This is your first post. Edit or delete it, then start writing!